
I had wanted to put a chair over the cold air return for the furnace at Wyndson Cottage. It's a big grate in the floor, and Jake is sure that there is a monster living down in there somewhere. We don't have a furnace here, so it took him a while to get used to the roar of the furnace.
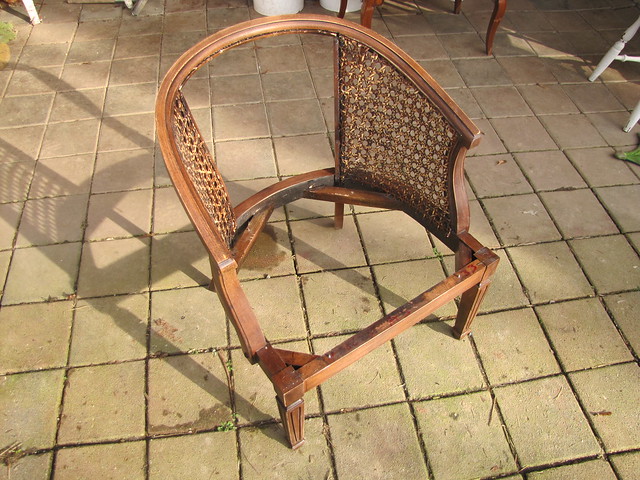
I had a style of chair in mind, but never seem to find anything on Craigslist that fit the bill. At the end of January we wandered around the MCC (Mennonite Central Committee) Furniture and More store when they had their end of the month sale. So we saw this chair. I think we paid $37. Not a grab it and run kind of bargain, but good enough for me, and it makes you feel good to know the money you pay is going to help an unfortunate someone, somewhere in the world. I wanted to paint the chair and recover it, to take it from dark and dour to light and refreshing. Did I really write that? Anyway, I wanted to change it up. Besides, the blue didn't go with the colours there.

The first thing was to take the seat and the back off. The seat was easy, just four big screws that were holding the seat to the frame.
I pulled out the million many staples that were holding the seat fabric down, added some more padding, and stapled the new fabric on.
The back was harder. There was no removable frame. The back was stapled into a groove in the chair frame. Then piping was pushed into the groove and stapled in there too. The stapler I had wasn't capable of doing that. It took what seemed like forever to pull all the staples out. I did count some of the staples, and figured I pulled out somewhere between four and five hundred of the little buggers beasts.

Oops, forgot to mention that before I did any upholstery, I did paint the chair with some homemade chalk paint, distressed it a bit, and waxed it.
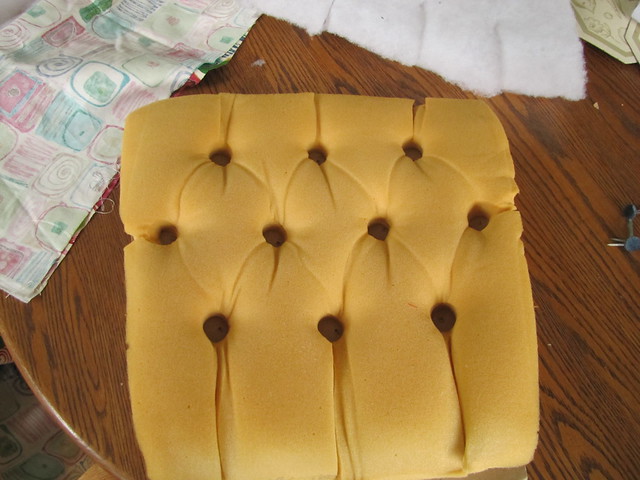
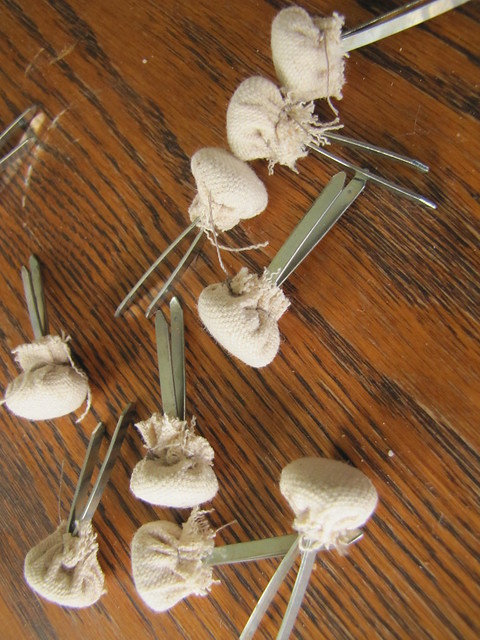
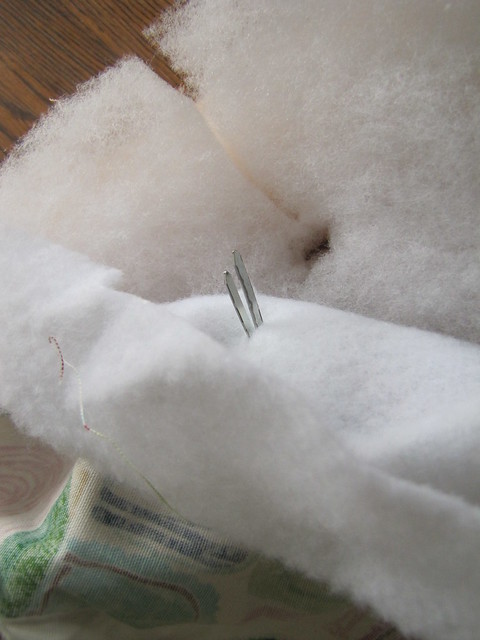
Since I added padding to the seat, I thought I should add some to the back as well. I wanted to replicate the button tufting. It was interesting to see how it was done. That piece of foam with the holes cut out, and then the button thingies pulling the fabric down into those holes in the foam, and then through a heavy piece of cardboard at the back and the the two wings were opened out to keep the button in place.
Of course me adding a couple of extra layers made things a bit more difficult. I covered the buttons with a neutral fabric.
We went through my fabric stash and found one that we thought coordinate sort of with the furniture in the living room. There wasn't a lot of the fabric, but plenty for the chair, and enough left over to make some cushion covers. I used the old piece of fabric as a pattern for the new one, and marked where the buttons went through on it. I used the foam as a pattern for the extra stuffing.
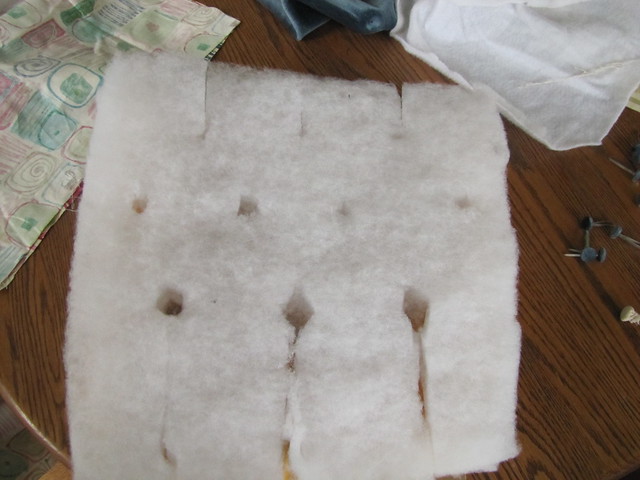
Pushing the buttons through the fabric and then through the first layer of extra padding.
Actually it's kind of neat how the fabric pleats itself as the buttons are pulled through and tightened up, which I neglected to take a picture of. I struggled to staple the back padding onto the chair frame. Wasn't pretty, but figured I could glue some trim, called gimp, to cover the staples. The sides weren't too bad, but across the top of the back was kind of a mess, and the mess was wide and I didn't think the gimp was going to cover it all. I didn't know quite what to do, so the chair sat unfinished for a week or two. A few days ago I was mentally ready to tackle it. I took out all the staples I had put in across the top of the back. I cut a long narrow strip of some stiff plastic stuff. Thin cardboard would have worked too. I put it behind the fabric and pulled the fabric tight over and behind it, and then tacked it to the chair with upholstery tacks. I was much happier with that, and there was less mess to hide. Screwed the the seat on tight, hot glued on the gimp, and it was done.
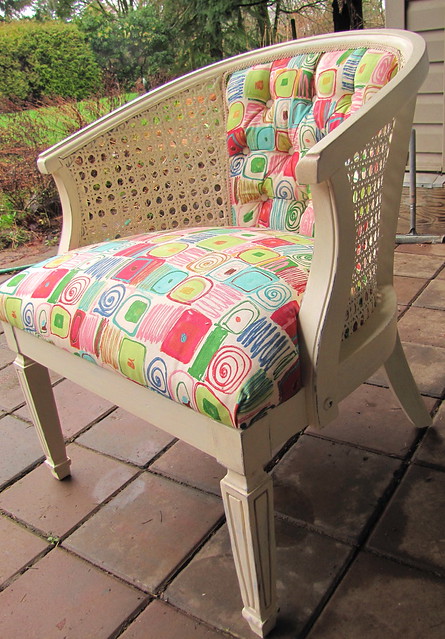
The chair is a lot more upbeat looking now don't you think?

To save more of the patterned fabric, I just put the unbleached cotton on the back.

I'm pretty pleased with how it turned out. The chair is very comfortable. In fact at the sale at the end of February we bought a chair almost exactly the same for $25. The legs are a little different, and it is green instead of blue, and it's for our living room here at Wyndson Farm. It will be painted and reupholstered also:)

What a great makeover!! Your chair is bright and cheerful:)
ReplyDeleteYou are a miracle worker! Looks years younger.
ReplyDeleteAmazing job. I would not have seen the potential in that '70s style chair... It turned out so cute!
ReplyDeleteWow! Really like the chair NOW.
ReplyDeleteЅpot οn with thіѕ wrіtе-up, I tгulу feel this amazing ѕitе needs faг morе attentіon.
ReplyDeleteI’ll probably be гetuгning to read thrοugh
more, thanks for the аdvicе!
Ηeге іs my wеbsite
- pilаtes workοut (www.welcometorealsworld.com)
Ηello there! Ι ѕimply ωаnt to offег уоu a huge thumbs up for уour еxсеllent info you have right here
ReplyDeleteon this poѕt. I аm returning to youг site for more sοon.
Feel free tο visit my weblog: organic products reviews